Creating Mood Boards for Interiors
Mood Boards are a collection of inspirational images, colors and materials in a certain style or concept. I always say to clients to browse through a lot of magazines and websites online, save all the images that they like and then go away and do something else, when you come back, you can flick through the collection and you will see an underlying theme or style that is dominant.
They are useful if you are working on just one room or remodeling your whole house. If you come up with a concept or mood or theme style that you like, creating mood boards keeps you on task if you are staging your project.
Often budgets don’t allow us to do renovations all at once, so having a mood board means you have always got the style as a reminder in between projects so that if you see an item while you are out and about and it fits with your concept, you can buy it then and there, knowing that it will work for you in the future. This is also a great way to save money. If you are at a sale – and let’s face it how many times have you bought something at a sale because you just can’t leave it there for that price, then you get it home and even though you love it – you really can’t find a place to put it! It really wasn’t a bargain, but if you had your mood board on your phone, you could have looked and decided if it would work with your concept.
They are great for helping you make quick decisions if you are looking after your project yourself. They are ideal if you are going to employ a professional to compile your interior, you give them the look and feel that you want and they can take it from there to create their magic.
Watch Lee Brown from WillowCollege talk with Sheryl Borden of Creative Living about Mood Boards
There are 2 ways to create a mood boards – online and physical.
Online Mood Boards
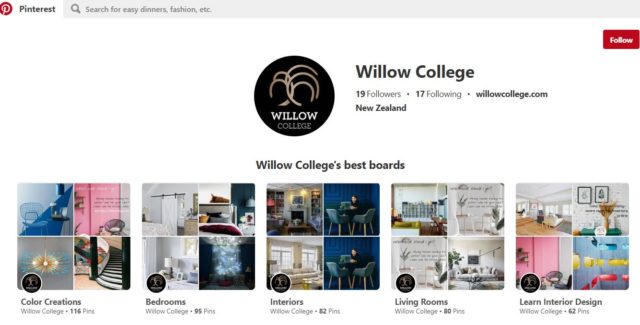
If you are time poor, then using an online mood board is the way to go. Here is how you do it, there’s a whole website on the internet dedicated to do just this. It’s called Pinterest. A quick summary is that Pinterest has images about all sorts of different topics, it is great for interiors – there are so many images that you can actually get lost in it for hours. When you find an image you like – you simply “pin” it to a board in your account so you can refer to it when you need it.
The guide to setting up your online Mood Board using Pinterest.
Step One – create a board and name it something memorable.
My amazing new house is a good one, you can make multiple boards if you have a lot of rooms to work with.
Step Two – Add all the pins to the board that you have collected that reflect the mood, style and look you like. If you haven’t used Pinterest before then visit pinterest instructions and it will explain how everything works.
Step Three – go through and delve deeper into color inspiration, texture inspiration, furniture pieces, lighting, also thinking about whether you like shiny chrome, solid brass, brushed aluminum or stainless steel finishes for light switches, fixings and accessories.
Step Four – once you have put everything into the board you then have to go and make decisions. Think of yourself as a curator of an art gallery, select the best images that truly reflect your passion and must have pieces. Remembering too about how you will use your house, you must bring the practical aspect into your design. You may love cream shag pile rugs, but you have a dog who would just love to roll around and scratch his back on it – you know what it will look like within a month. There are always “want” to have items and what I “have” to have items based on a few practical details. This helps make the decision before you go shopping, you already know when that rug is sitting there begging you to buy it that it’s just not going to work, it’s not on your board, so bye, bye and focus on the practical – sigh….. This will however save you money and heartache and mean you can keep your loving relationship with your dog.
Step Five – Once you have fully curated your board, go away and have a break, then come back and see it with fresh eyes. Is this what you truly want and desire. Is it practical, is it achievable with your budget? Have you dreamed a little too high? Don’t worry, by having the items that may be out of reach – you can prepare yourself to look for something with a similar form, color, perhaps a more economical fabric, or you may just see it in sale one day and all your dreams can come true! Feel confident in what you have prepared, if you are missing something – go back and do a bit more research.
It’s a good way to plan and take your project seriously.
The best thing about using Pinterest to create an online mood board is that you have it with you on your phone. You can open it up when you need it for reference. A Perfect tool.
Physical Mood Board
I know myself that as a creative person I love the tactile aspect of putting together a mood board. Ever since I was a child I have had to touch everything in a shop as I walked by. My dad used to go crazy! Stop touching everything – but I just couldn’t help myself. I still do it. It’s my way of evaluating a product. How it feels, how it hangs or drapes if it’s a fabric, I sit on chairs, I even jump in baths and sit on toilets at the plumbing store. Being of a small stature, I find it important to see if I fit comfortably into things. Especially couches and sofas. I constantly need cushions propped up behind me on our leather sofa at home as my feet don’t reach the floor and I find it too uncomfortable – yet it’s perfect for my husband Chris who is a lot taller than me, he loves the sofa – so it stays. I just get to buy new cushions on a regular basis.
A physical mood board Is much more fun if you enjoy practical projects.
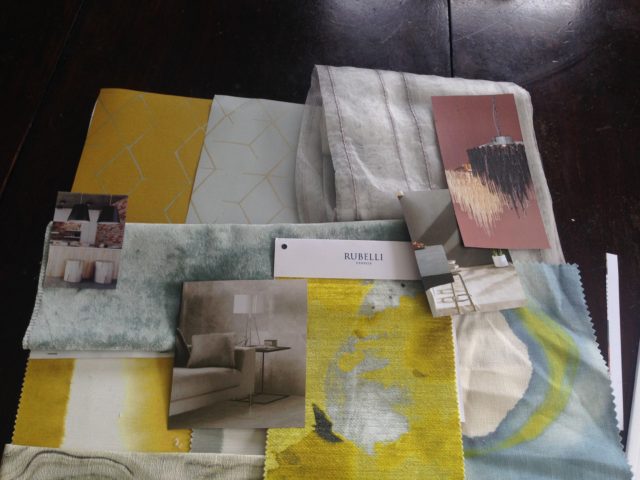
Step One – It is always good to have images of items that you already have and will be keeping in your space. This is your starting point, you will be adding things to the spaces so it is important that they work with your existing pieces. This is something that often lets us down, we have a mood or style that we want to create but the “bones that we have to work with dictate otherwise” we then must compromise. Knowing what you will be keeping at the beginning is a great way to ensure that the scheme can hold itself together.
Step Two – go through magazines and find photos, print them off the internet, use brochures, find physical samples of fabric, timber, tile, wallpaper and paint. This is a lot more time consuming than making an online board, but it gives you time to reflect and think about decisions along the way.
Step Three – You can use a pinboard or cork board to collate and present these. You can always remove things and change them about easily.
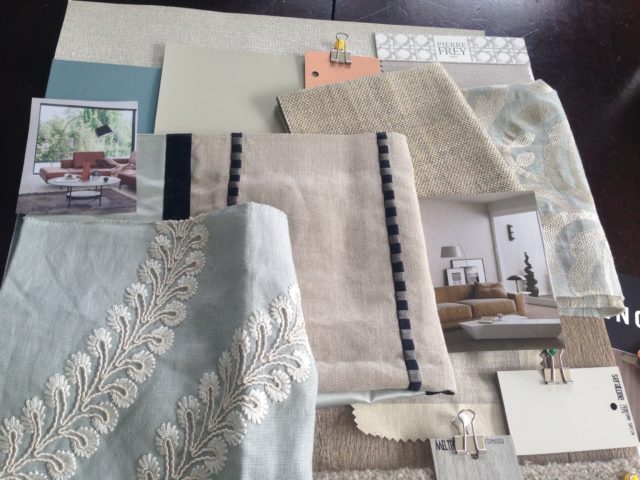
Step Four – On a not so serious note – it’s always good to have an inspirational image – it doesn’t need to be something that will be physically in your room, it could be a favorite travel destination, a quote that inspires you, a piece of artwork that makes you think. If you add a couple of these to the board it personalizes it and makes you engage in the process, it makes it truly your journey.
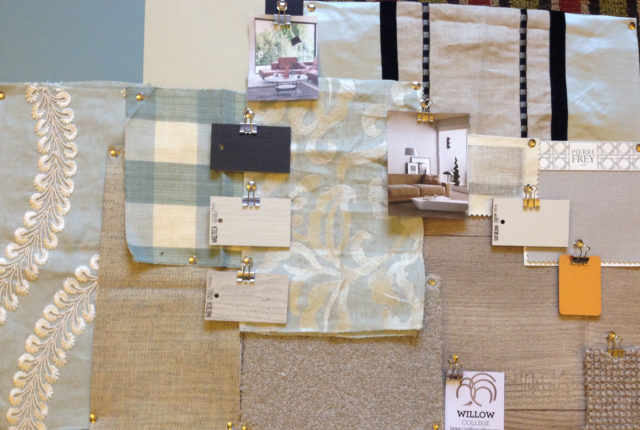
Step Five – Once you have your inspirational images, start adding materials, color swatches and images from magazines or pieces of furniture you have printed off the internet, start layering your board, some items are inspirational, some are realistic, keep an open mind and put your heart onto the board. It can be hard to get physical samples to add for some things, but most companies are really happy to give you samples knowing that you will eventually buy their product. If you can’t get the physical sample – print off a picture from the internet. Then once you have your inspiration it’s easier to add items that are potentially what you may purchase for your project. Art, furniture, rugs, lighting. Of course, these aren’t set in stone, it is a mood board and is used to ensure that you have harmony and flow with your concept or style.
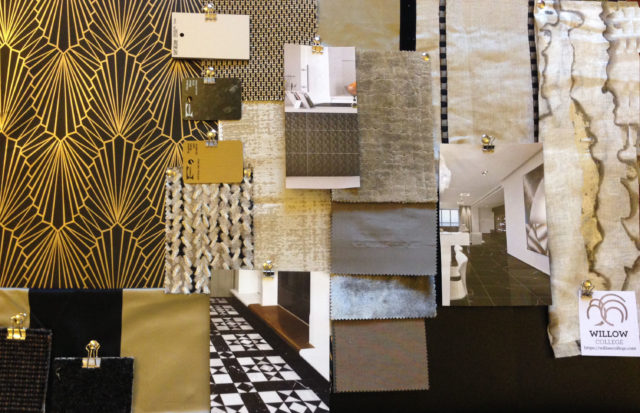
Step Six – Keep adding things, when you have filled the board you can then move things around look at what works together and what doesn’t, sometimes you don’t know until you have seen the product a few times, so leave the board in a prominent place in your house and walk past it frequently. This way you will soon start to see what things you really love, you can then start to cull out a few things. It’s also a way to engage everyone else in the house, they can then buy into the concept and become familiar with the direction of the project.
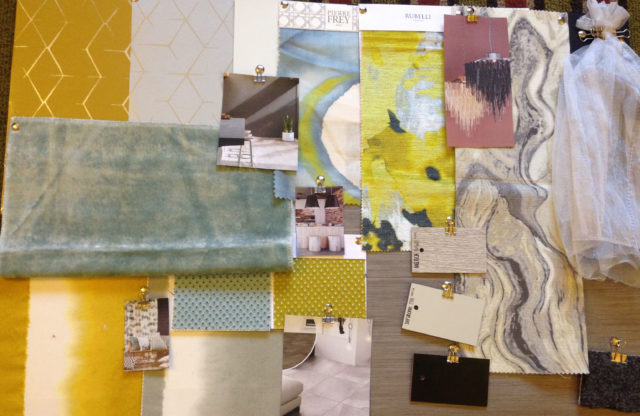
Step Seven – You want to be able to use this like the online board so take a few photos so it becomes easily accessible and you can reference it when you are out and about.
There can be a lot of things to put on one board if you are working on an entire house, so making up boards for each space will make things a lot clearer. That’s it – you have created your concept board.
Creating mood boards is just one of the things you will learn from our online Interior Decorating and Interior Design Course at WillowCollege.com. Easy 3-minute lessons you can learn on your smart phone, table, laptop or PC.
